Creating a user position
In Logiqc, tasks are assigned to user positions not user accounts. Each user account must have their own unique position created in the platform.
Note: You need administrative permissions to create user positions. Learn more
How to create a user position
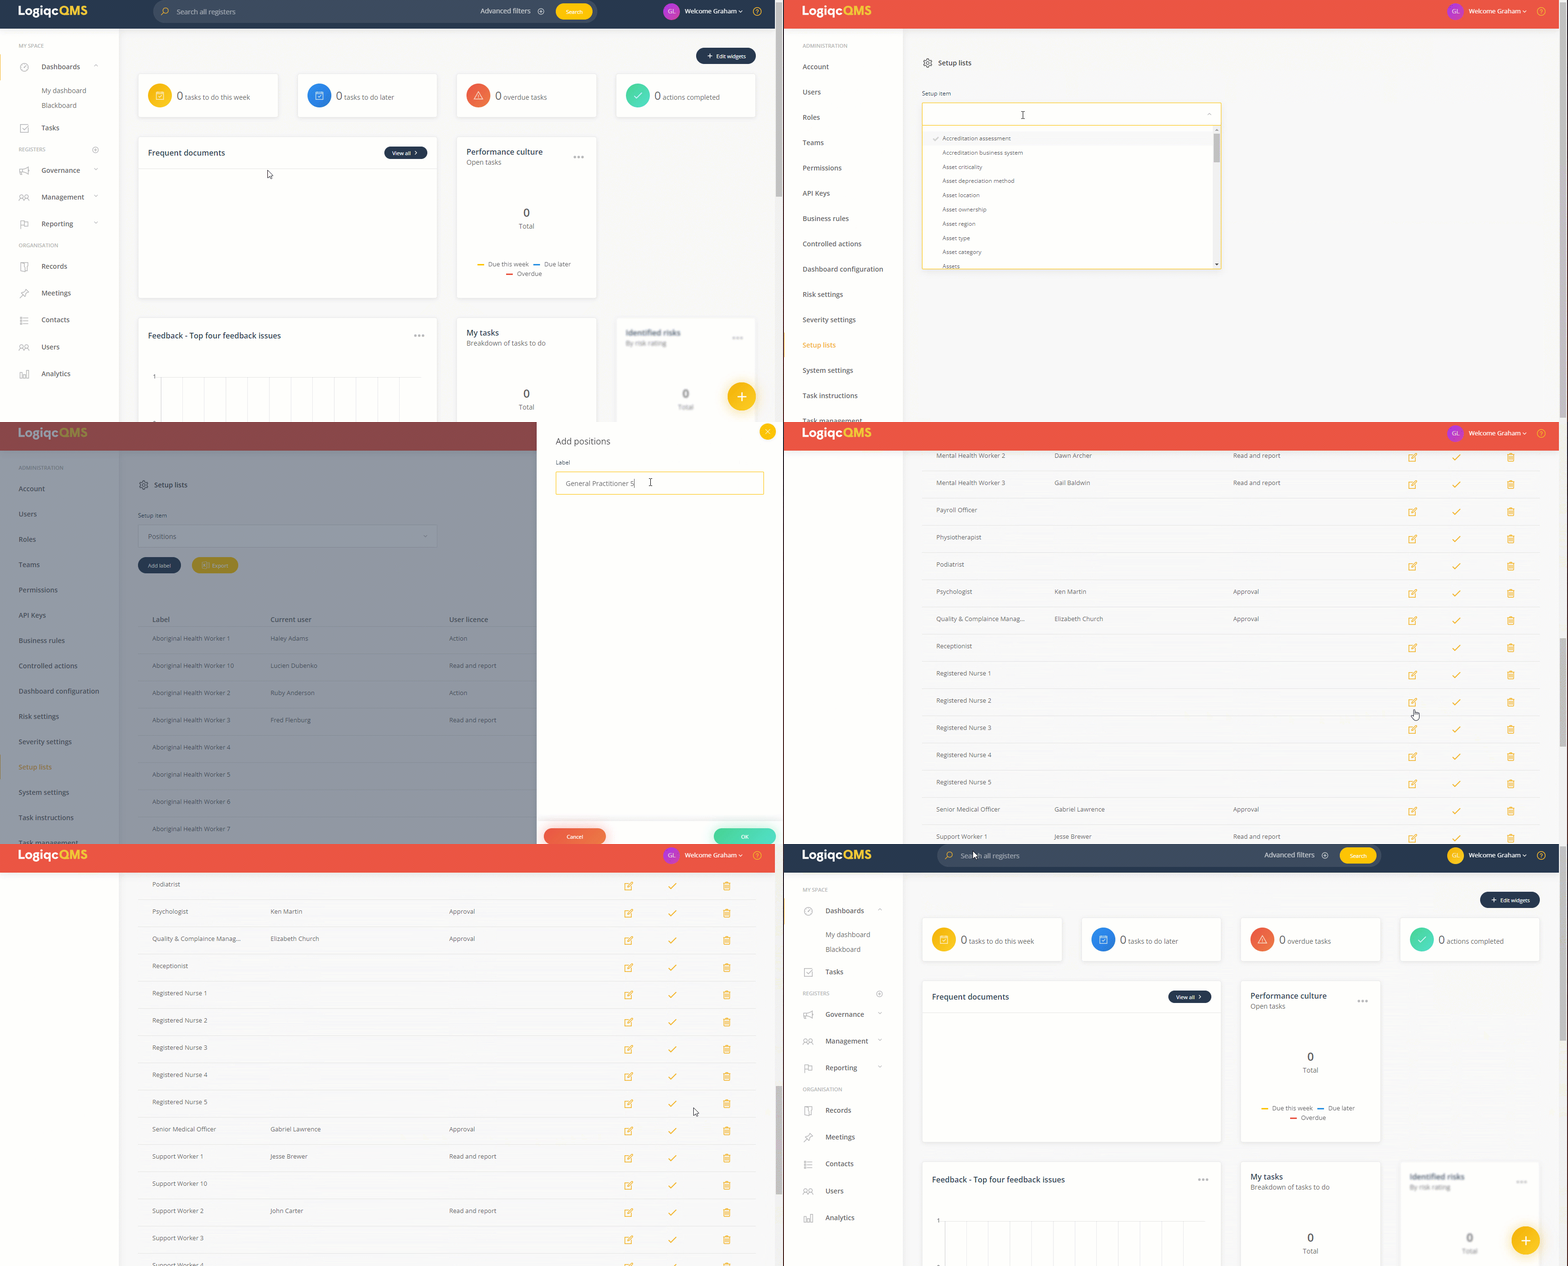
- Switch to Admin mode via your user account menu.
- Select System settings from the Administrator menu
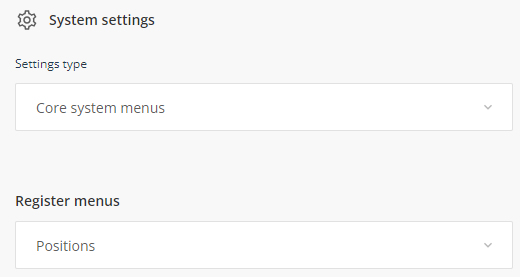
- Under 'Settings type', select Core system menus

- Select Positions from the 'Register menus' drop down menu
- Click Add label
- Name the position
- Click Ok - The position will appear in the positions list
- Click Save at the bottom of the positions list window
Once the position has been added it can now be assigned to a user. Learn more

Note: Multiple users cannot share a position.
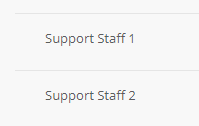
For instance, if you have two support staff members, you should create the positions "Support staff 1" and "Support staff 2." Then, you can assign each of the support staff members to their respective positions.
