- About Response protocols
- Applying a response protocol
- Completing a response protocol task
- Monitoring the status of your response protocol tasks
About Response protocols
A Response Protocol is essentially a pre-defined checklist or a set of actions designed to guide you through addressing reported issues like incidents, feedback, improvements, or repairs.
For example, your organisation's incident management plan requires you to follow a specific steps to respond to a serious incident. A response protocol can be programmed for this.
Each action within a protocol can be assigned to you or other users, ensuring a clear and efficient process for resolving every issue.
Example
1. A manager receives an incident report

2. The manager selects a response protocol to manage the incident

3. A pre-programmed set of actions with set timelines are displayed and the manager assigns who should carry out each action.

Each user assigned to an action will receive a task and email notification when their
action is due.
Applying a response protocol
Response protocols are applied at the Manage stage of the workflow for a Feedback, Incident, Improvement or Repair. Selecting the response protocol option allows you to choose a pre-defined protocols or build and assign your own set of actions to respond to the issue that has been reported.
When you receive a task to manage a Feedback, Incident, Improvement or Repair':- Click on the task and review the issue summary at the top of the page. You can also go to the Details page for a full report.
- In the Manage form, select Assign action

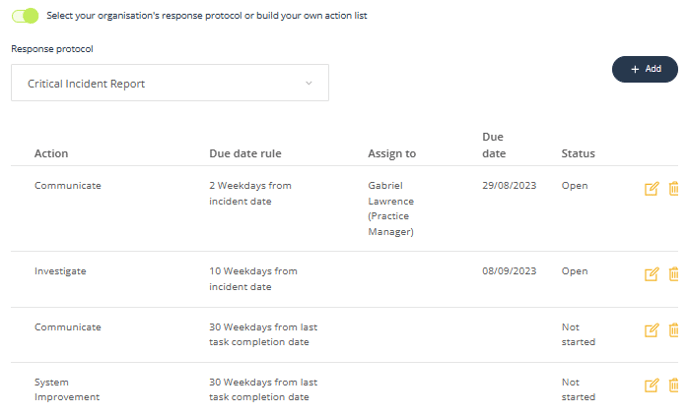
- Choose Select your organisation's response protocol or build your own action list.
This option allows you to apply a pre-set response protocol or build and assign your own set of actions.
If you select an existing response protocol, you simply need to assign each action to a user by clicking the edit icon for each action and choosing the required user from the Assign to menu. Users will then receive the tasks assigned to them when you save the form.
If you want to build your own action list, click Add and complete form. Repeat to build multiple actions for one or more users. 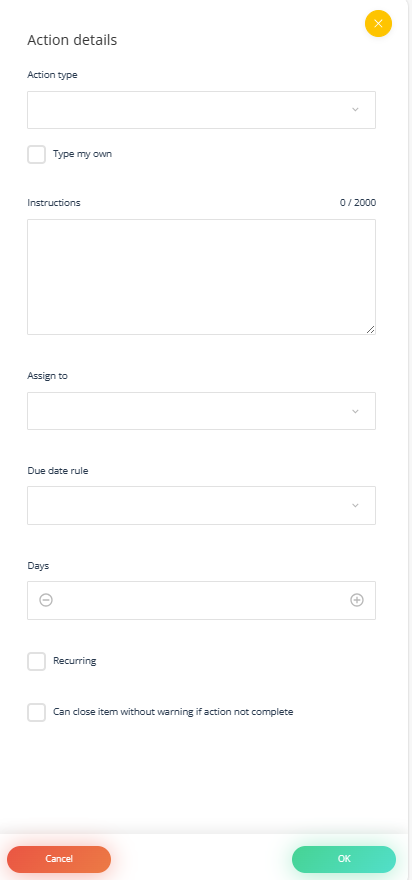
Use the standard workflow to assign a single action
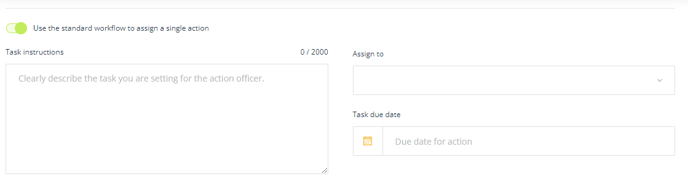
This option allows you to assign the item to a single user for action or investigation.
Completing a response protocol task
When you are assigned a controlled action as part of a response protocol, you will receive a Controlled action task.
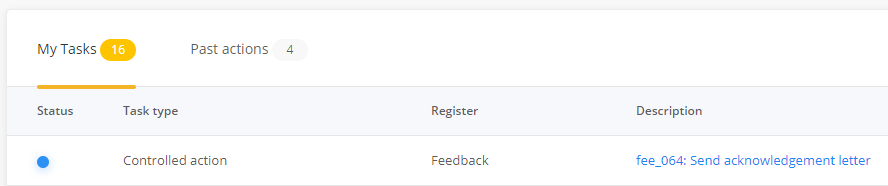
To complete the task
- Click on the description.
- The task will open in a right nav modal window.
- Read the task instructions
- Add you actions in the Actions taken text box.
- Change the task status to 'Completed'.
- Attach any records (optional) - You can add multiple records by clicking on 'Attach' again. To remove records, click on the trash icon
- Click 'OK' to complete the task or Cancel to exit the task window.
To skip a controlled action task.
The assigned manager has the option to skip the controlled action task if it is not required. They will see a skip option under the status dropdown menu.
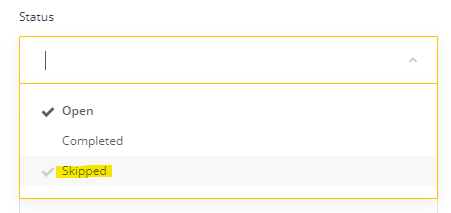
To skip the task, select Skipped, add some text to the Action taken text box and click OK.
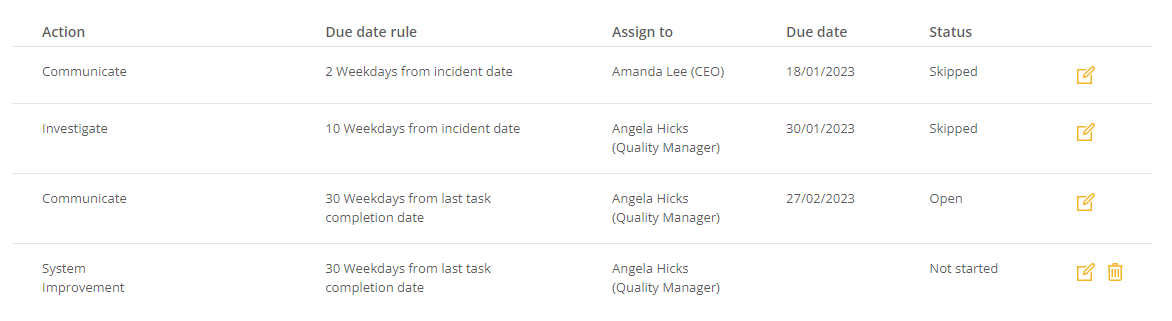
This entry will be recorded in the Action history and the Controlled Actions task list, under status.
Tip for recurring tasks: Once the final occurrence of the series is completed, you will need to tick the box 'No further action is required' before the next task can be generated.
Monitoring the status of your response protocol tasks
The primary task (Feedback, Improvement, Incident or Repair) will display its current status independently of the controlled action sub-task status. The primary task only becomes overdue if it passes its own due date OR all of the controlled action sub-tasks are overdue.
To view the status of your controlled action sub-tasks, click on the sub-tasks icon. Each sub-task will display its own status. This status is measured against its own due date which is set when the controlled action is added.
Response protocols dashboard widget
Another way to monitor the status of all open Response protocol tasks is via the Response protocols dashboard widget. This widget will display the status of all open actions by register and current status.

To view the details simply click on a number to drill down and view the list of each open action.

Users with Approval Officer and above permission level can add this widget to their dashboard. Click on the link below to learn how to add widgets to your dashboard.