Response protocols is a paid add-on feature.
If you would like more information, click here to get in touch with us.
There are two steps to setting up your response protocol action lists:
- Create 'Response protocol' action list names (The name of each action)
- Create 'Response protocol' actions (The set of actions to be taken when responding to an issue)
Note: You need the admin permission Edit system settings to set up Response protocols. Learn more
Create 'Response protocol' action list names
When managing incidents, feedback, improvements or repairs, the user can choose from a list of pre-defined actions. This step is where you create the names of these action lists e.g. 'Investigate', 'Follow up', 'Response'.
- Switch to Admin mode via your user account menu.
- Go to System settings > Settings type and select Response protocols.

- Click on Add label
- Name the action list and set the register/s where this label will be visible.
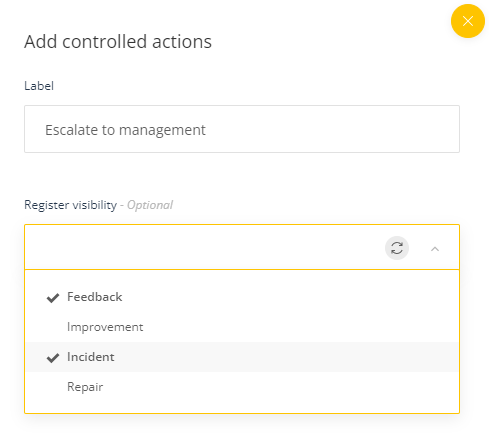
- Click OK to save your list name
- Repeat until you have added all your labels and click on Save at the bottom of the Response protocols list
Create 'Response protocol'
- Switch to Admin mode via your user account menu.
- Go to the Administrator menu and select Response protocols.
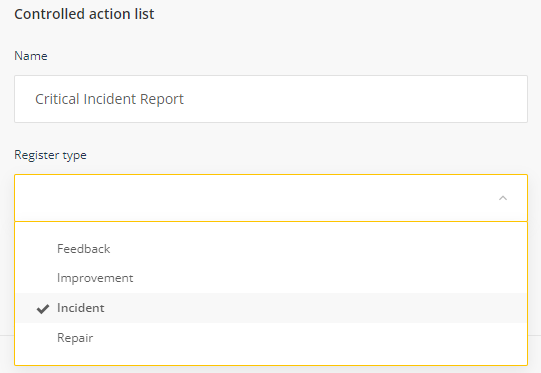
- Select Create action list.
- Name the list and select the relevant register you wish to apply the action list to.
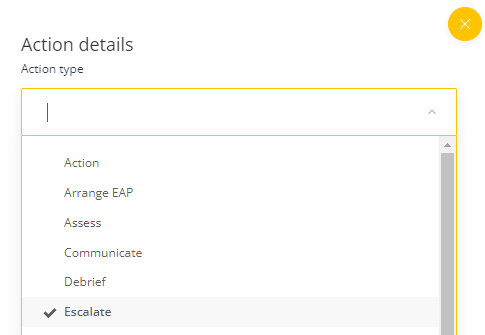
- Click Add, and select the Action type from the drop down menu
- Fill out the details of the action and click OK. The instructions are displayed to the user when they receive their Response protocol task.
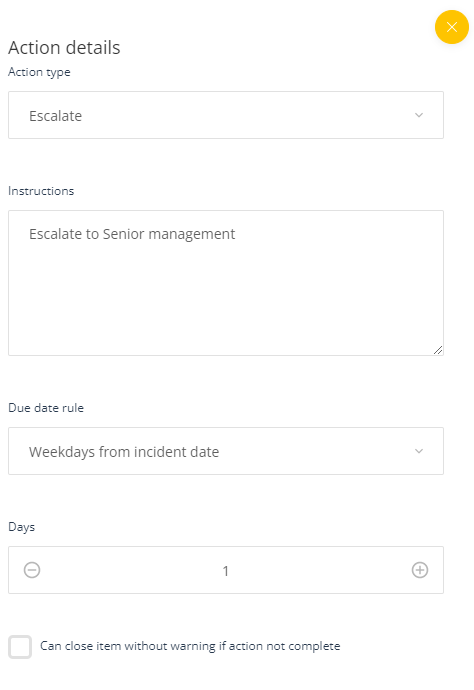
- The actions details will appear under the list name.
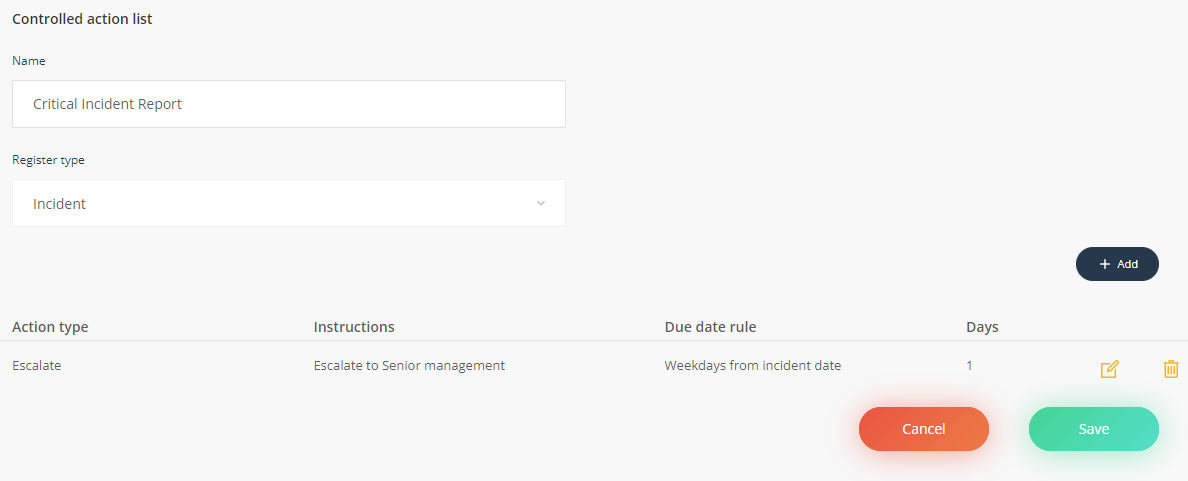
- Repeat until all your actions have been added then click Save .
Tip: Actions can be set to recur by selecting the 'Recurring' check box in the 'Action details' form. The task will reoccur until the action officer selects the option 'No further action required'. This is explained in more detail in the article, How to apply controlled actions