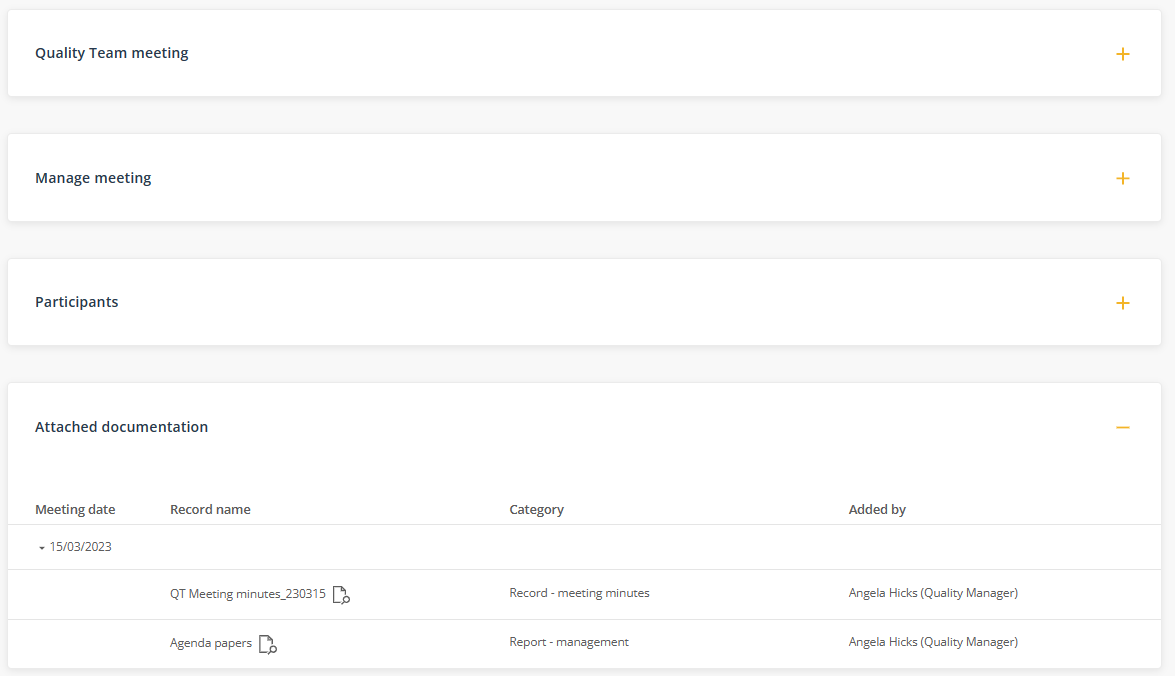
Documentation related to a meeting such as minutes and agenda papers can be attached to the meeting via the Documentation tab. Once attached, the documentation will be displayed on the Meeting agenda page and in the Related documentation tab on the Meetings register.
1. Open the meeting and select the Documentation tab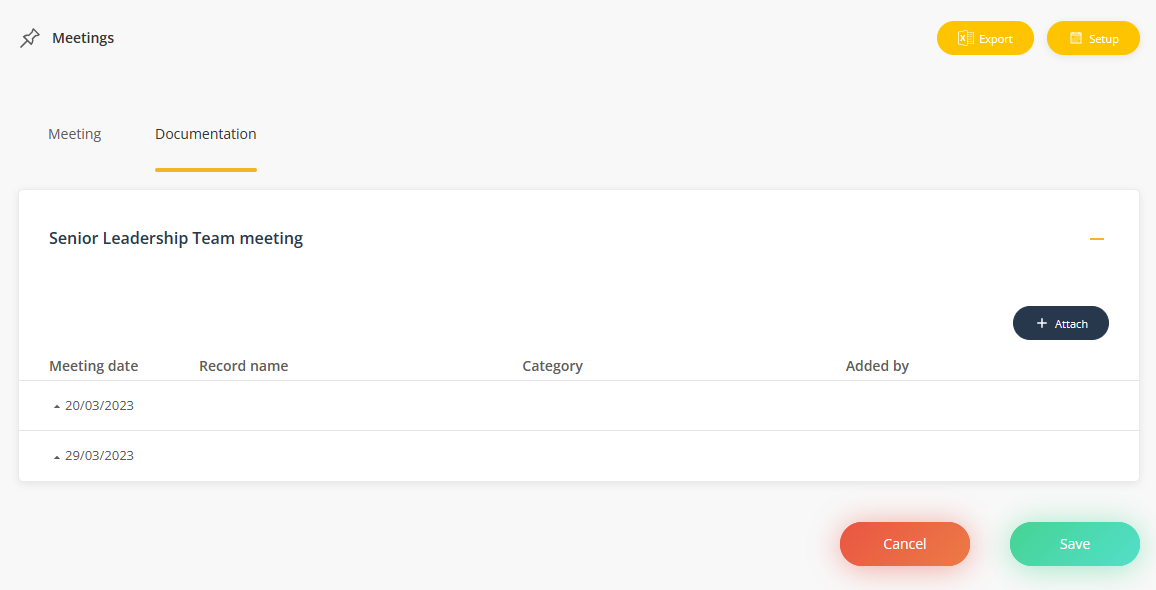
2. Click Attach and complete the fields in the upload page.
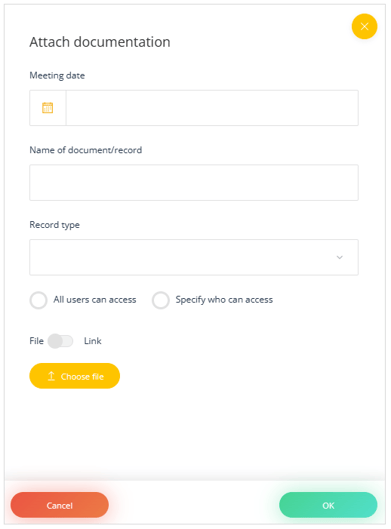
- Meeting date - this is the date that the meeting was held or will be held.
- Name of document/record the name of the item being attached.
- Record type - the type of item being attached.
- Access control - which teams and individuals will be able to see the record.
- Choose file/link - upload a file or paste in a web or Sharepoint link to the file location
When the item is added, a meeting date 'group' will be created automatically. Additional records can be added to this group at any time simply by selecting the same meeting date when adding new records.
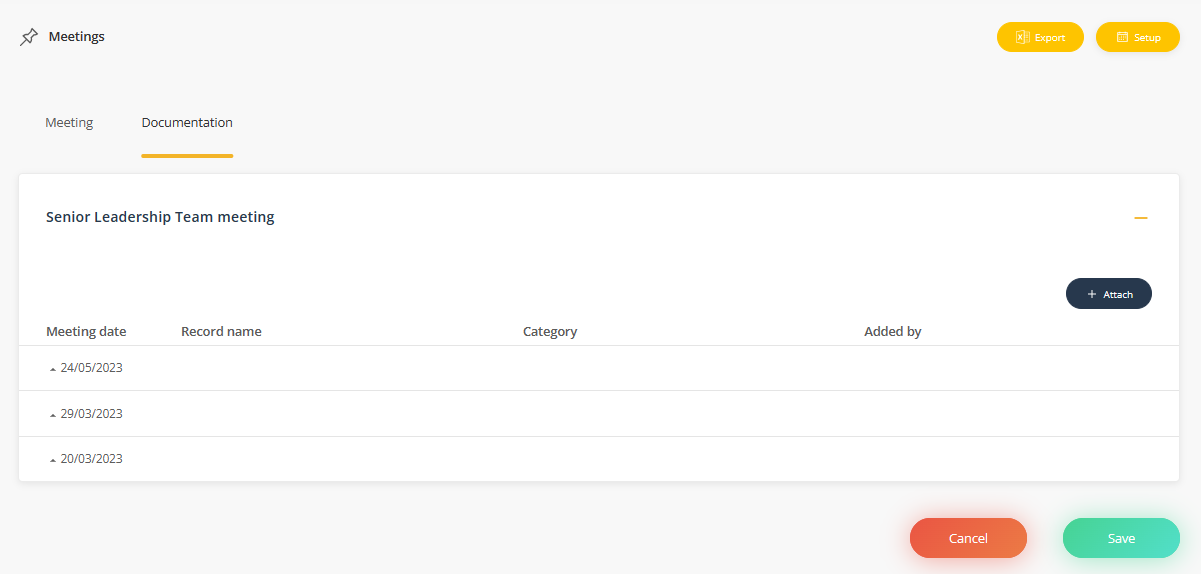
4. Once you have added your documents, click Save to save the documents to the meeting.
The item details can be edited or deleted at any time. Deleting the item will permanently remove the record from the platform.
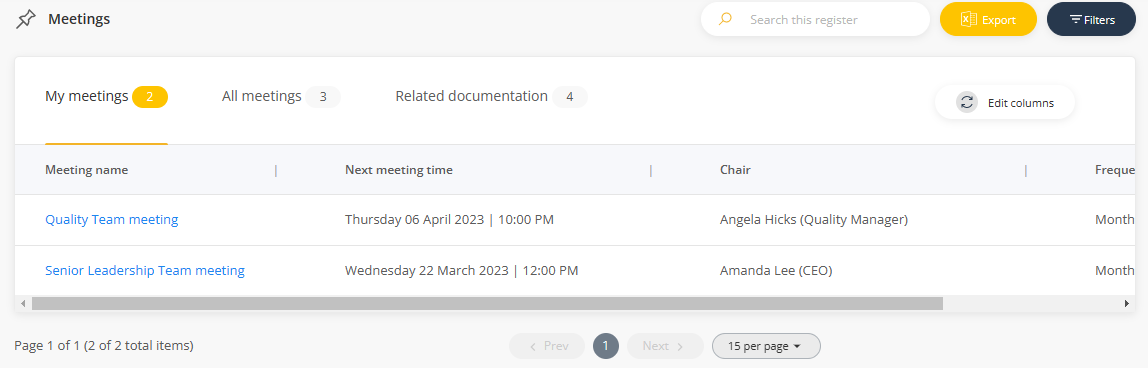
The documentation from all meetings can be viewed and searched in one central location in the Related documentation tab (subject to your user permissions). The documentation will continue to display even after the meeting is discontinued and no longer appearing in the Meeting register.
Note: Records attached using this method will also appear on the Meetings agenda page.