
In this article:
Learn how to approve a risk in Logiqc.
An Approve risk task is assigned to the Risk owner when a new risk is ready for approval or an existing risk has completed review. Approving the risk confirms its rating and keeps it active on the Risk register with a confirmed next review date.
You may receive an Approve risk task when a new risk has been managed and escalated, or when an existing risk has been reviewed and is ready for approval.
The approval stage is where the Risk owner checks the history, risk details, controls, ratings, and review date before approving the risk.
Q: What permission do I need?
A: You need Approve risks. The minimum licence type required is Approve.
Q: Can I assign more work instead of approving?
A: Yes. Use Assign another task when more review or follow-up is needed before approval.
Before you start
Check the following:
- You have the Approve risks permission (minimum licence type required: Approve).
- You are the Risk owner assigned to approve the risk.
- You have reviewed the Action history, controls, ratings, and proposed next review date.
Step 1: Open the Approve risk task
Open the task from your task list or from the notification email.
Navigation path
Select the Description link for your risk. Task type shows as Approve risk. The task opens in the Approve stage for the risk.
Read the task context before choosing an approval option.
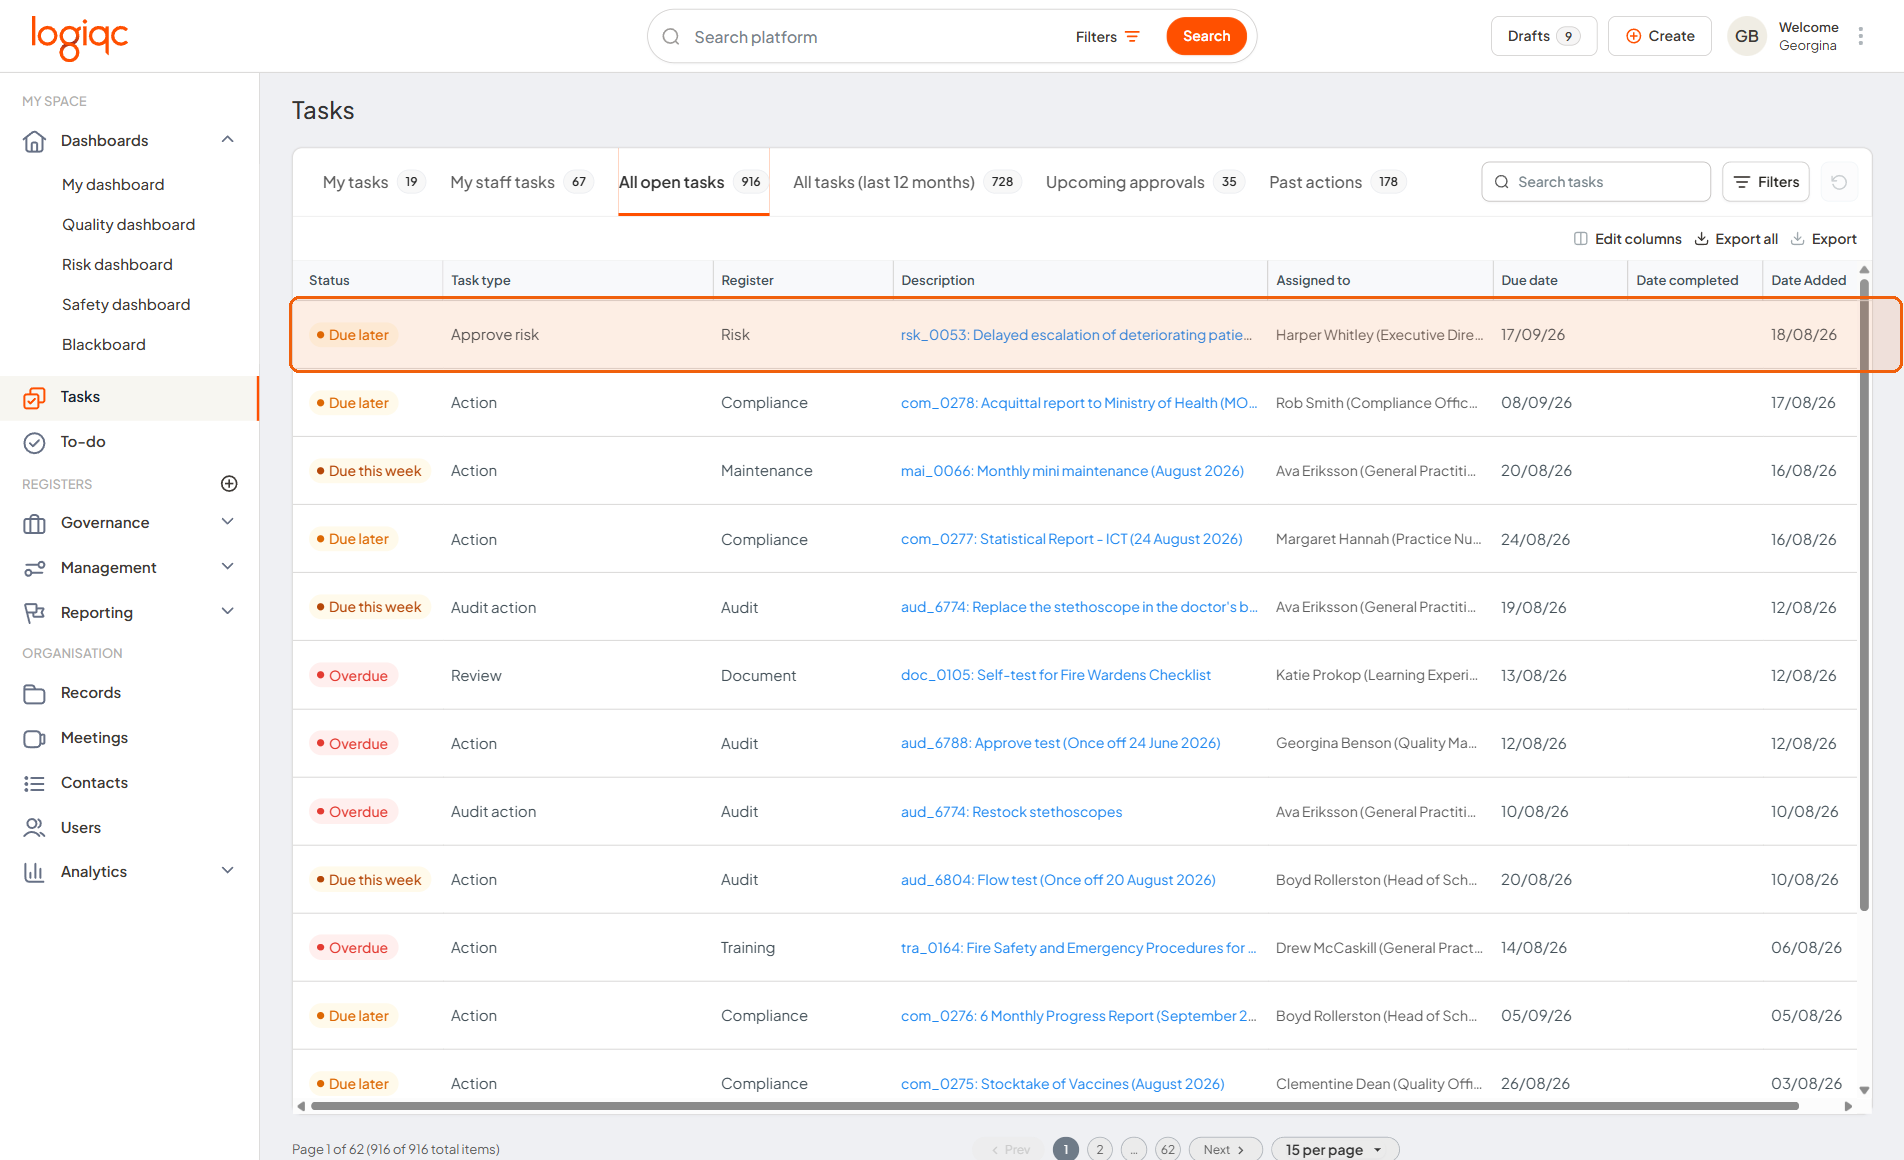
Open the Approve risk task assigned to you.
Step 2: Review the risk before approval
Review Action history for comments and work completed during earlier stages.
Select Go to risk if you need to review the full risk details, linked controls, risk assessment, and mitigation actions.
Check Risk summary for key information, including any related adverse event threshold alert.
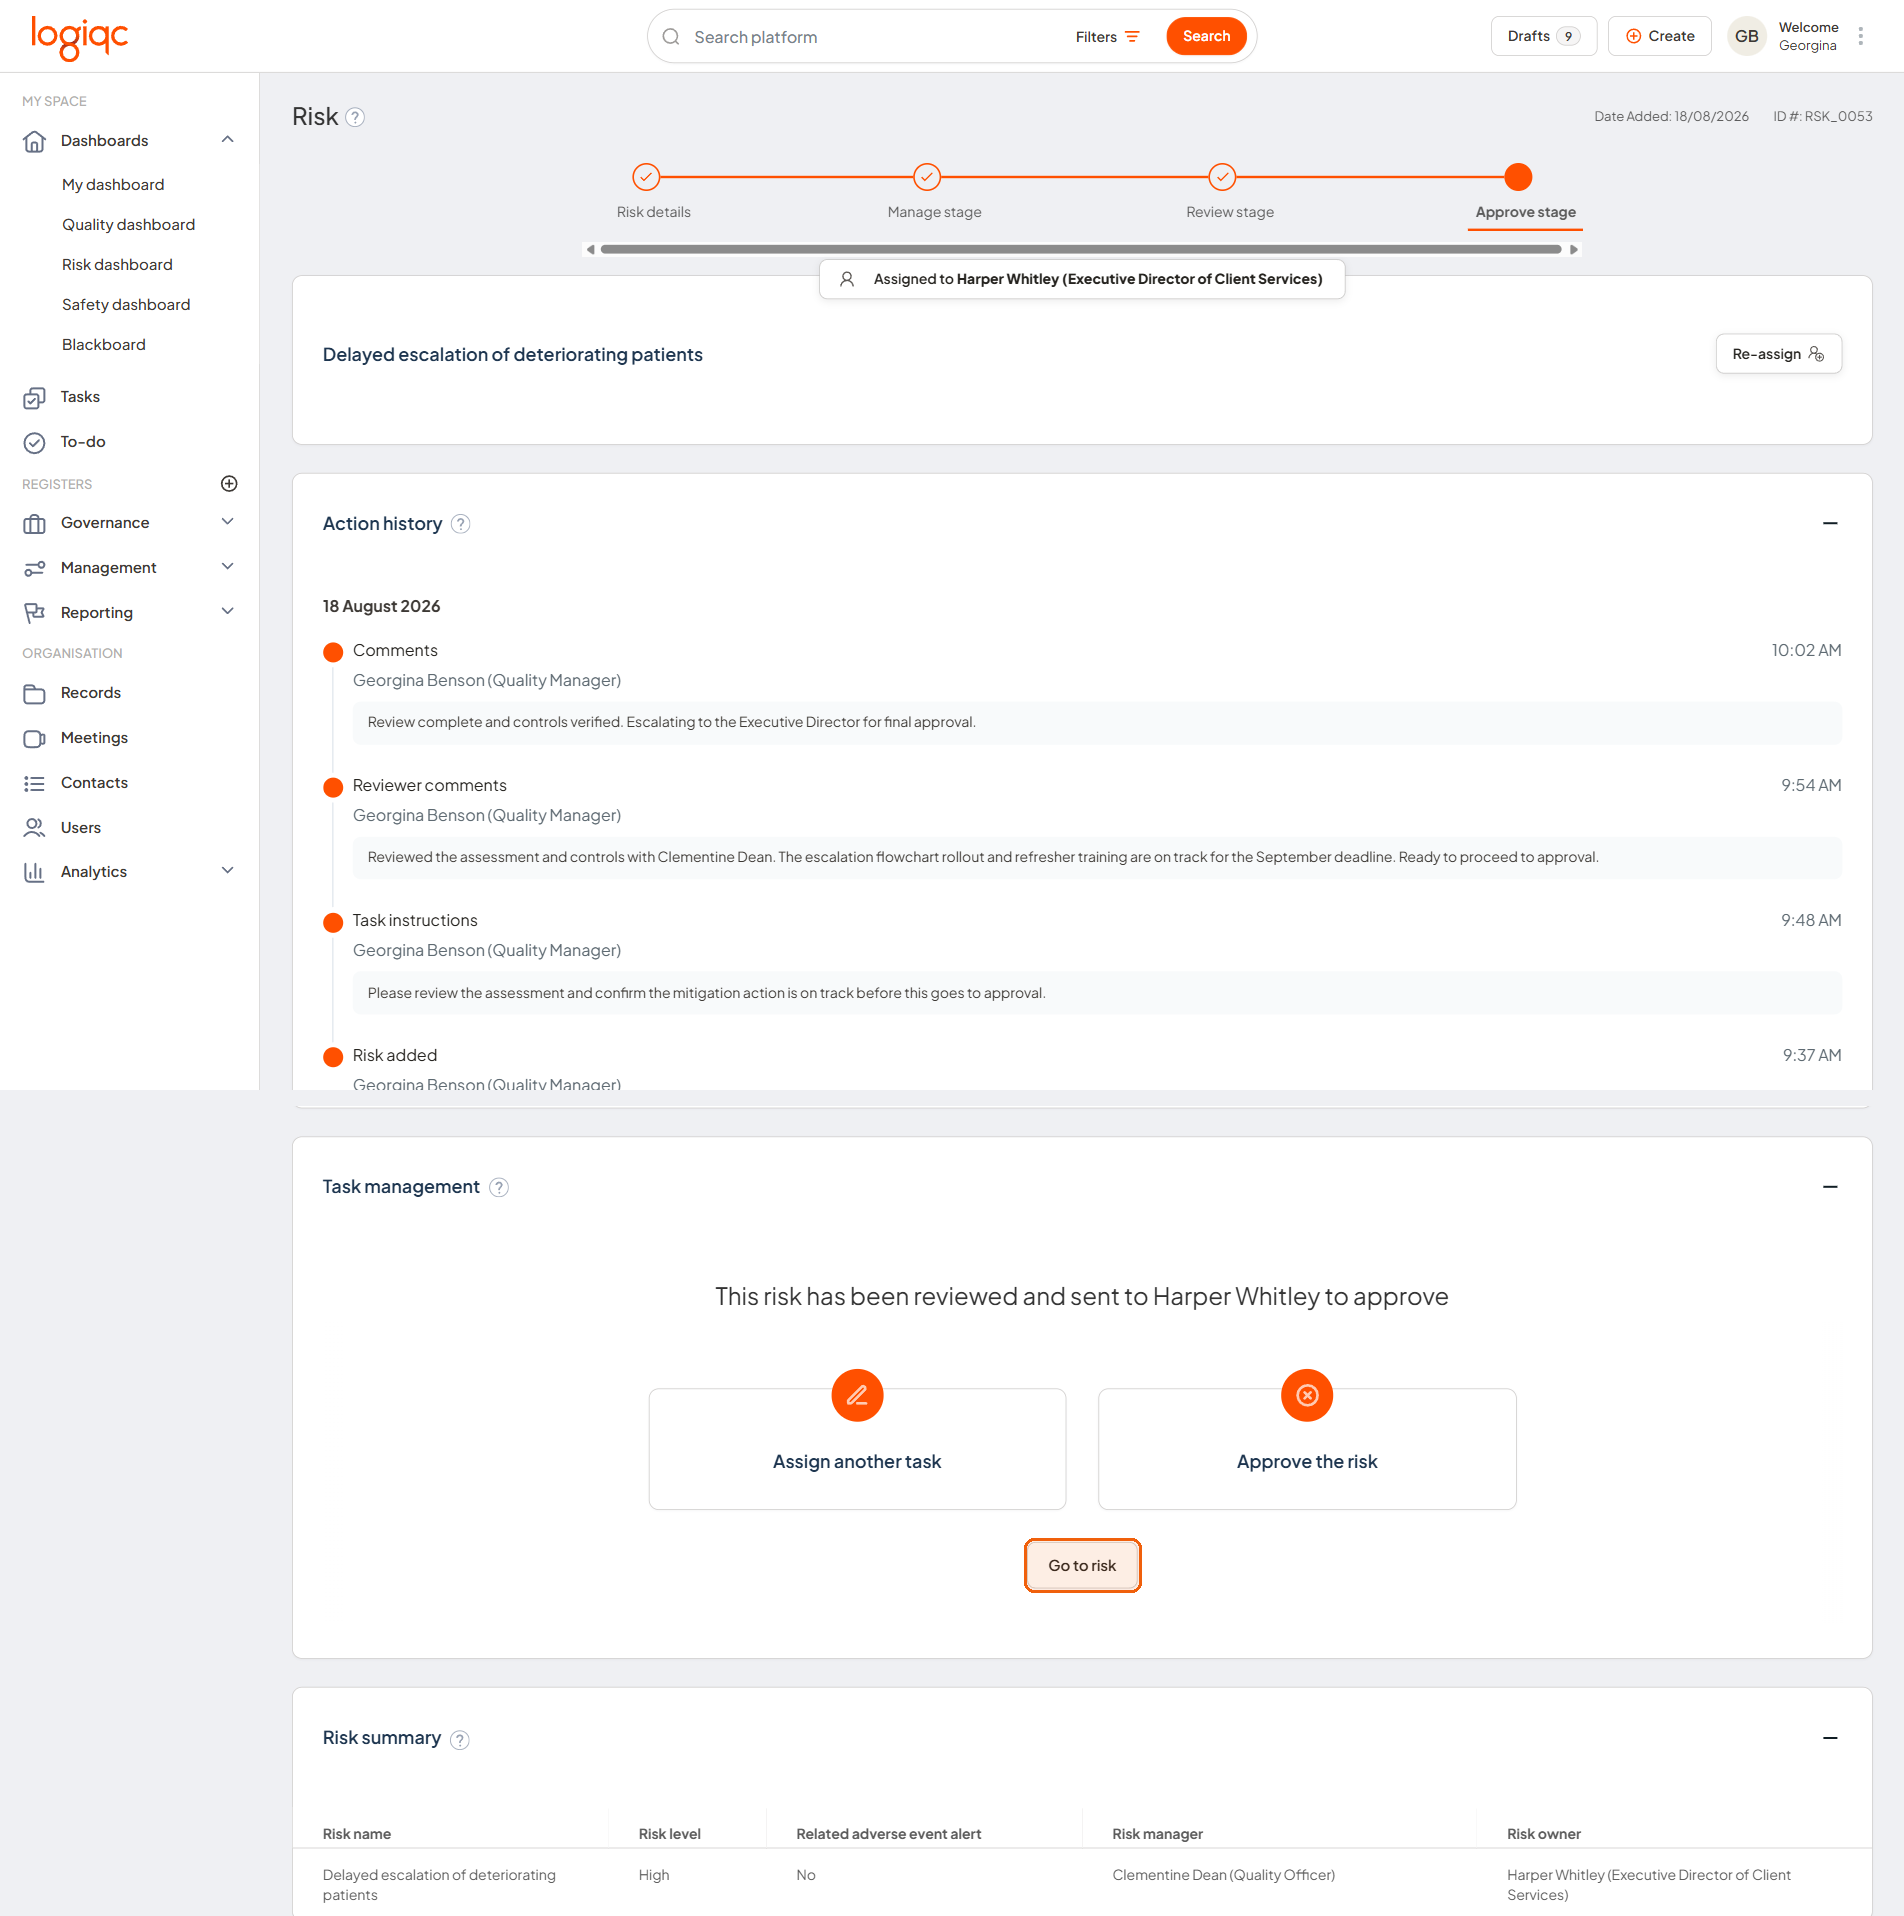
Check Action history and Risk summary before choosing an approval option.
Step 3: Choose the approval option
In Task management, choose what should happen next.
Assign another task
Use this when more work is needed before the risk can be approved.
Approve the risk
Use this when the risk is ready to be approved and kept active on the Risk register.
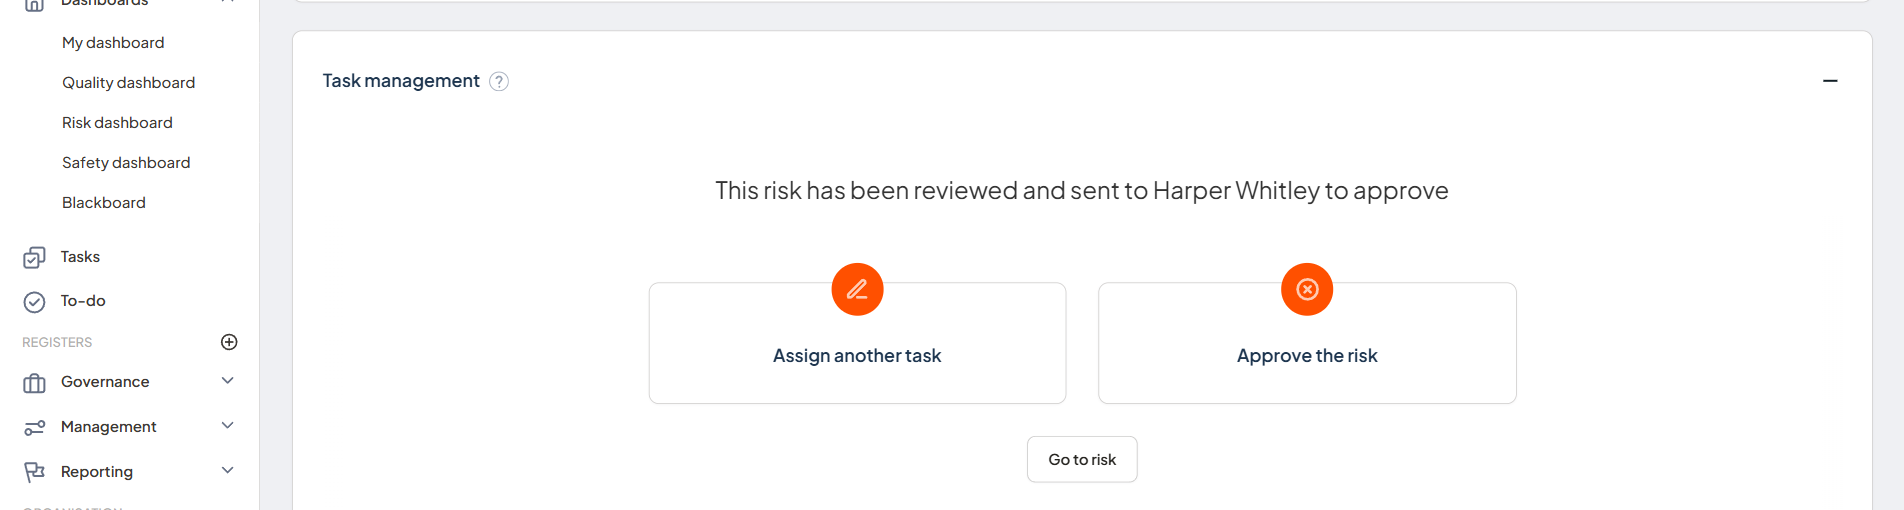
Choose the option that matches what should happen next.
Step 4: Complete the fields and finish
If approving the risk, confirm or update the Next review date, add Additional comments if needed, then select Approve.
If assigning another task, complete Task instructions, Assign to, and Task due date, then select Submit.
If the task should create follow-up work in another register, select Create a related item and choose the destination register. After the task is finished, Logiqc creates the related item and links it in System event history.
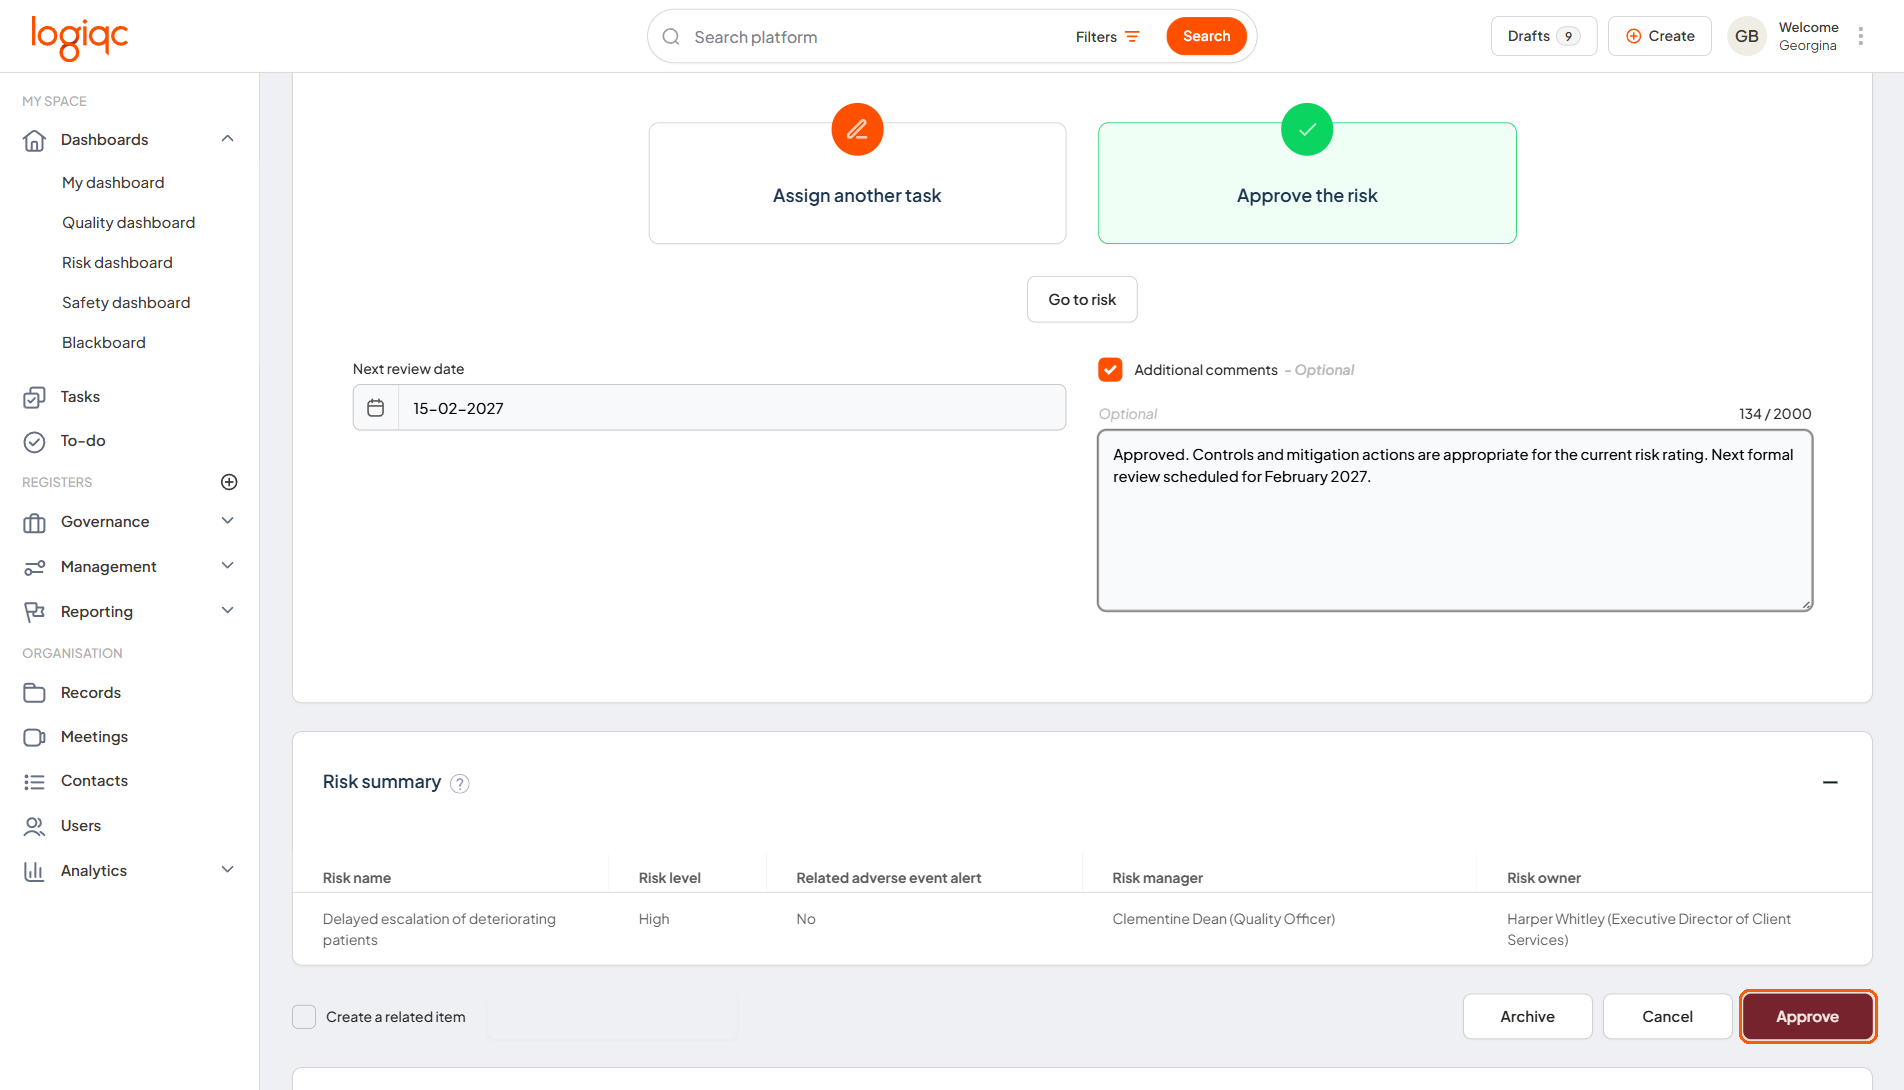
When the approval option is selected, the final action is Approve rather than Submit.
What happens next
Further work may be assigned
If you assign another task, the selected user receives the work and the risk waits for that task to be completed.
Approved risks stay active
If you approve the risk, it remains available on the Risk register with the confirmed next review date.
Future reviews are triggered
The risk can return for review when its review date is reached or when related adverse event thresholds are exceeded.