Quick steps to adding a record:
- Go to the Record register and click on the FAB and select Record
- Complete the record details
- Attach the record
- Click Submit
Permissions required to add a record
You will need the following permission to add a record:
- Add records (minimum licence type required - Action)
Form components
| Record details | Describes and categorises the record. |
| Assign | Where you can set the record owner. |
| Upload record | Where you will upload or link to the record. |
| System event history | A chronological list maintained by the system of most entries, changes, and linkages made in the system in relation to this record. |
Workflow
The Stage Navigation Bar displays the workflow stages that the record will follow once added (subject to the decisions made along the way).

Record details
This component allows you to describe and categorise the record and add author's name .
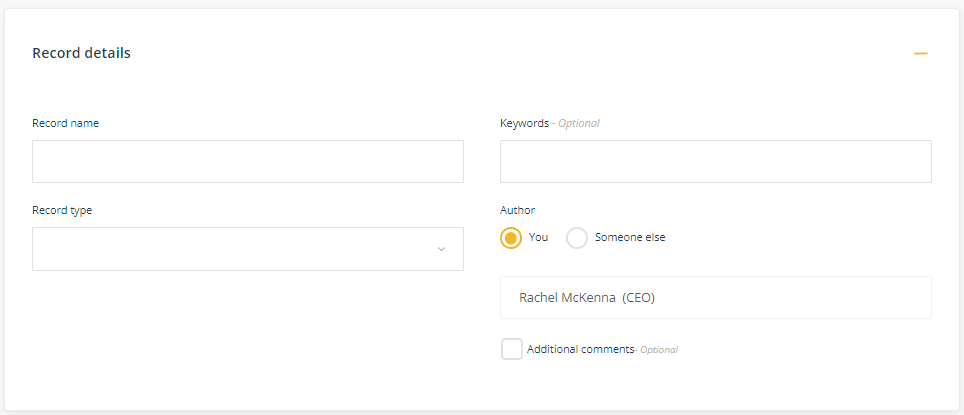
- Record name - add the name of the record. When naming the record, consider developing a 'naming convention' for records that will support future searches. For instance, 'Minutes of Meeting - WHS - 220301'. Using this naming convention will ensure all minutes of the WHS meeting are grouped together when the register is sorted by alphabetical order. Using the convention of the date being in the order of YYMMDD will enable sort to list records in chronological order.
- Record type - select the type of record from the drop-down menu - a customised list of record types relevant to your organisation e.g. report, photograph, email, legal advice.
- Keyword - data in this field will be searched when you use the Search functionality at the Register level as well as the Global search functionality. It can be useful to add the 'common' name of a record to make it easier to find if the more formal name of the record is not generally known.
- Author - add the name of person or organisation who created the record.
- Additional comments (optional) - add further comments relating to the record, if required.
Assign
This component is where you will assign the Record owner to ensure delegations and communication relating to the management of the record aligns with organisational requirements.
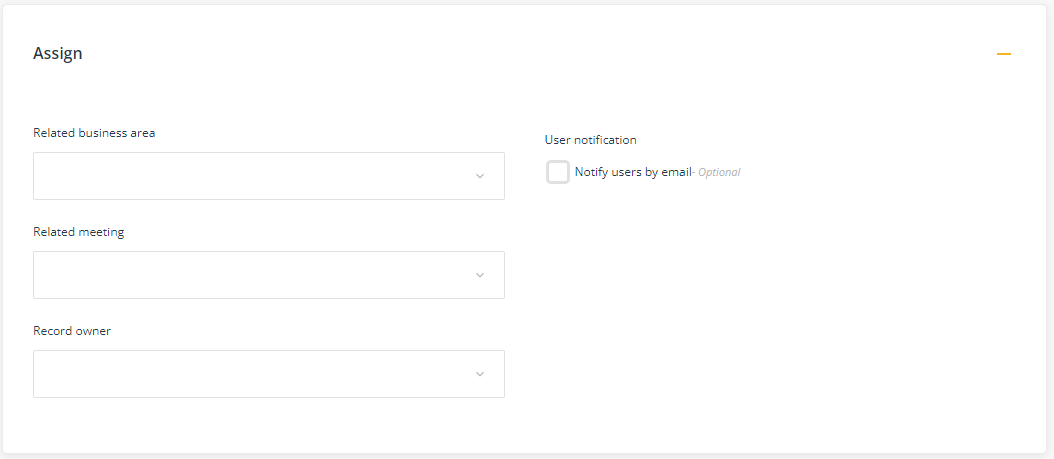
- Related business area - select the business area the record relates to.
- Related meeting - select the meeting that has oversight responsibility for the management of the record.
- Record owner - select the staff member who is responsible for approving the record.
- Notify users by email (optional) - You can use this function to notify relevant personnel that the record has been added to the QMS, thereby providing them with a link to the record. Note: users sent notifications relating to the record will need to be included in Access control to see the record.
Note: The viewing permission level assigned to a record will apply to an unapproved records, i.e. records waiting to be approved, as well as to approved records.
Access control
The Access control component is where you define which users have access to view the item. You can grant access to a team or individual users, or both.
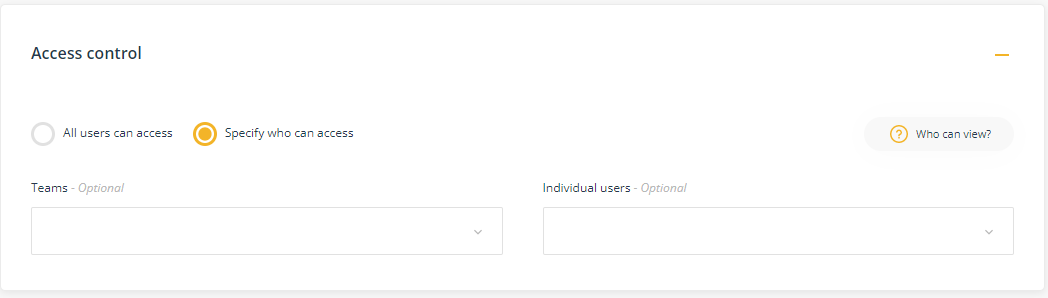
| All users can access | Select this option if you would like all users to be able to view the item. |
| Specify who can access | Select this option to control which users can view this item. |
| Teams | Select the team/s who need to view the item. |
| Individual users | Select specific users (if they are not included in the selected team/s) who need to view the item. |
| Who can view? |
Click this button to see a list of users who can see the item based on your selection. The list will also include those users assigned to the item in the workflow. Note: Users with system level permissions to see all items will also be included. |
Upload record
This component enables you to upload or link the record.
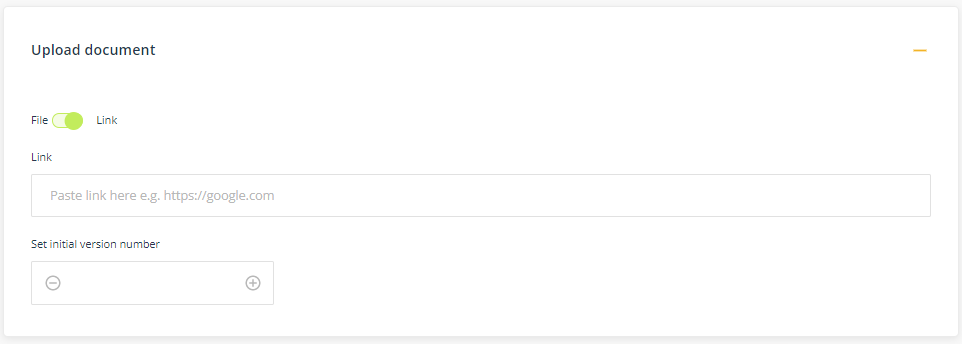
- File/Link - click on Choose file and navigate to the record on your computer. If you have links enabled, toggle to change the control to add a URL to the record. The URL must be a in a web (http://) or Microsoft Sharepoint format (https://<company>.sharepoint.com/...).
- Note: To upload multiple files, place them in a folder and compress or 'zip' the folder. The zipped folder can then be uploaded.
Submit/save the form
The green Submit button will save the form and in most cases progress the item to the next stage of the workflow. However, the button label will change depending on certain conditions to make it quicker to complete tasks. For example, if you assign the item to yourself to mange, the button label will change to 'Next' allowing you to manage the item without have to click through to another stage in the workflow.

- Create a related item - If you want to create a related/linked item after the upload is completed you can select the relevant register in the Create a related item component. When you press Submit, the platform will launch a new item in the register you selected. The platform will display a link between the two items in the System event history.
- Quick publish - If you are the Record owner, you can skip the Approve stage by selecting Quick publish. The Quick publish option will immediately approve the record and publish it to the Record register.
- Submit/Next - The green Submit button will save the form, upload the record and move it to the Review stage.